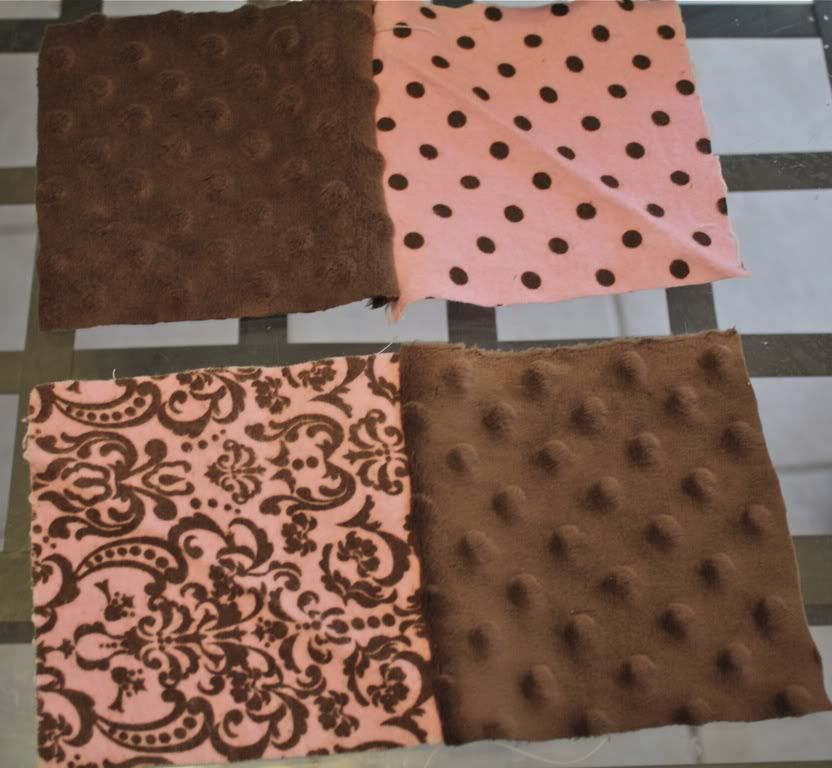
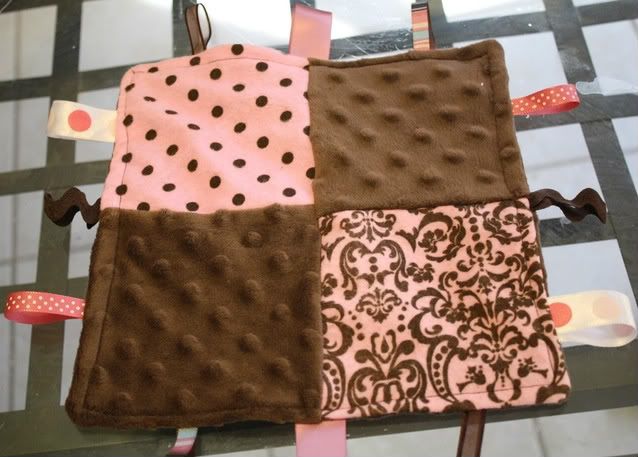
1. Cut out 4 squares of coordinating fabric, Sew 2 and 2 together.
2.Sew the two strips together, right sides together.
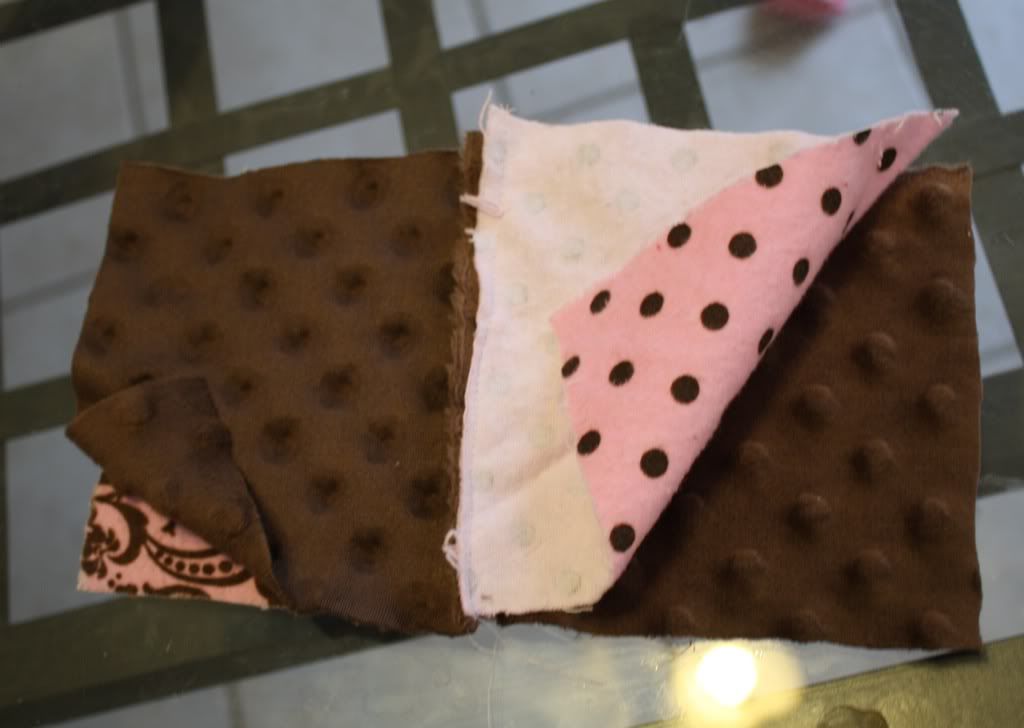
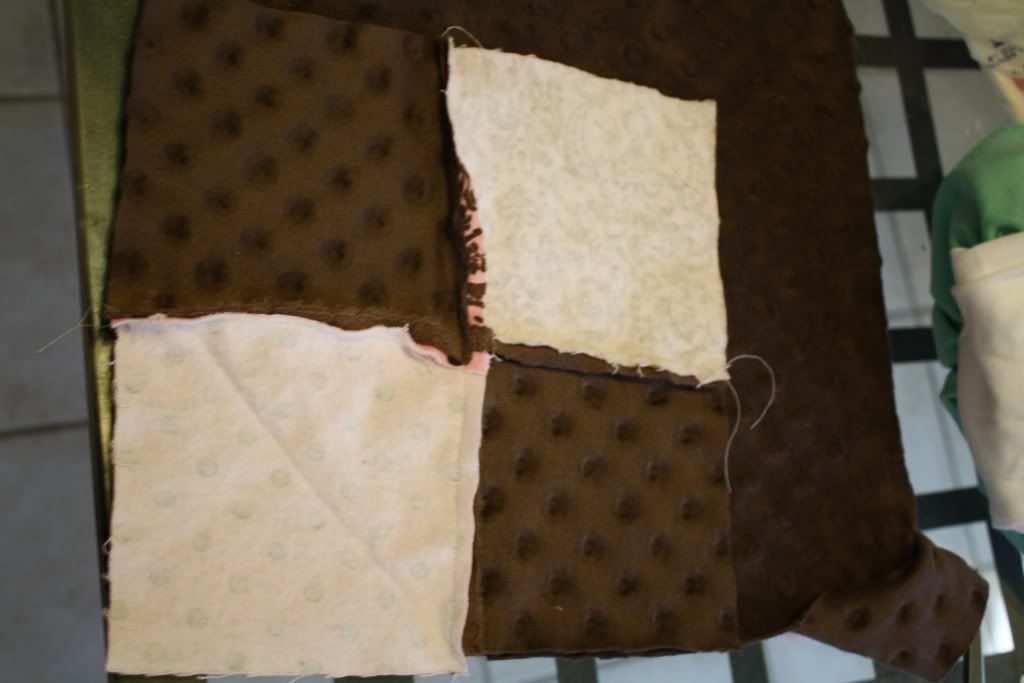
3. Cut out a backing fabric the same size as your new square.
4. Gather some scraps of ribbon that look cute with you're fabric you've chosen
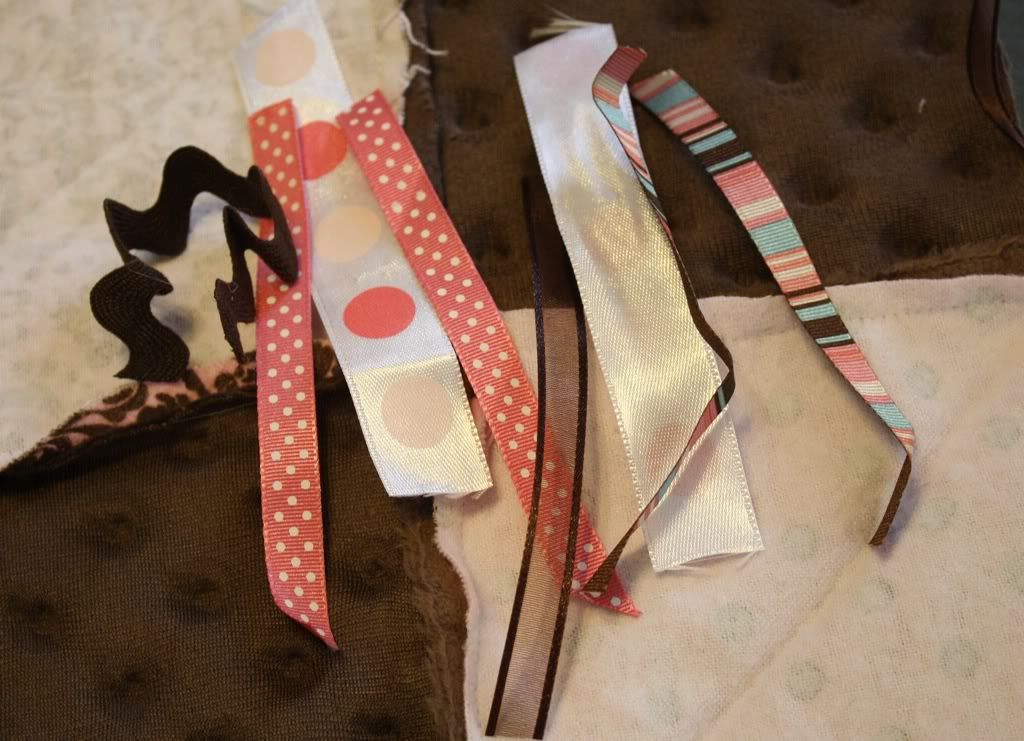
5.Pin your ribbon tags onto your blanket

6. Put your backing fabric, face down, then sew right sides together. Leave about a two inch opening, but make sure that all ribbons are sewn in :)
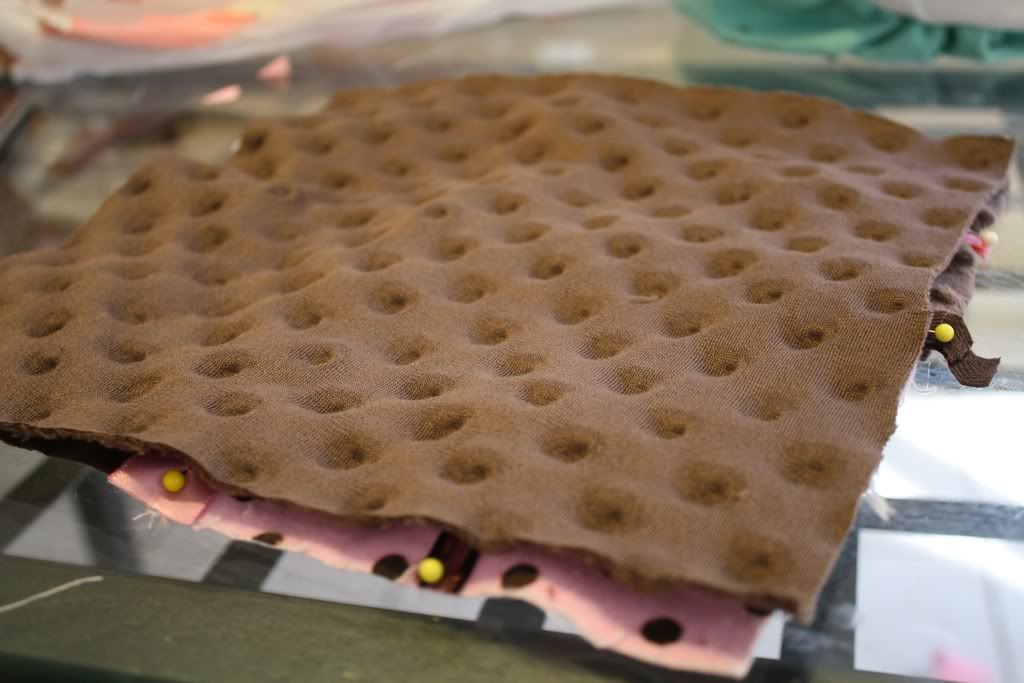
7. Turn you're blanket inside out and topstitch all the way around. And you're done! Perfect little tag blanket to keep those chubby little fingers interested :)

This is darling!! Thanks for sharing the great tutorial!!
ReplyDeleteThis is really cute. I love the interest that the patchwork adds to it! I featured you today on my baby gift roundup as part of my Christmas in July series :)
ReplyDeletehttp://sunshineandchaucer.blogspot.com/2011/07/baby-christmas-gift-ideas.html
I've made these before, but yours is so much cuter! I LOVE the minkee fabric, mine was just boring flannel, makes it even more snuggly. And I love the patchwork, so very cute.
ReplyDeleteI'm a new follower. :)